Have you ever wondered how a simple piece of material can transform into a cherished keepsake? Handmade creations have a unique charm that store-bought items simply can’t match. This guide dives into the world of crafting playful treasures that bring joy to both the maker and the recipient.
Whether you’re a beginner or an experienced crafter, this article will walk you through everything from basic ideas to advanced methods. You’ll discover how to create designs inspired by classic stories or your own imagination. The best part? Perfection isn’t the goal—creativity and care are what make these items truly special.
These handmade gifts carry a personal touch that lasts for years. They’re not just toys; they’re memories in the making. Let’s explore how you can turn your vision into reality, one piece at a time.
Key Takeaways
- Handmade items have a timeless appeal and personal touch.
- This guide covers both basic and advanced methods for crafting.
- Creativity and care matter more than perfection.
- These creations make memorable gifts for loved ones.
- You’ll find inspiration from classic designs and your own ideas.
Introduction: Discovering the Charm of Wood Carving for Toys
There’s something magical about turning a plain block into a treasured keepsake. Handmade creations carry a unique charm that store-bought items simply can’t replicate. When you craft something by hand, you’re not just making a toy—you’re creating a memory.
Overview of Handmade Toy Projects
Even the simplest project can become a cherished heirloom. From classic holiday figures to whimsical animals, each piece tells a story. These items aren’t just playthings; they’re a blend of artistry and functionality. They inspire creativity in both the carver and the child who receives them.
Using natural materials and eco-friendly finishes adds to their appeal. They’re safe, durable, and kind to the planet. Whether you’re inspired by a book or your own imagination, the possibilities are endless.
Why Personalized, Carved Toys Matter
Personalized gifts hold a special place in our hearts. They carry a sense of nostalgia and connection that mass-produced items lack. When you carve a design by hand, you’re putting a piece of yourself into it. That’s what makes these creations so meaningful.
Exploring this craft isn’t just about the final product—it’s about the journey. It’s about the joy of experimenting and the pride of creating something truly one-of-a-kind. So, why not pick up a tool and start your own story today?
Essential Tools and Materials for Wood Carving Toy Projects
Getting started with handmade projects requires the right tools and materials. Whether you’re crafting a playful gift or a keepsake for a child, the quality of your supplies can make all the difference. Let’s explore what you’ll need to bring your design to life.

Choosing the Right Wood and Tools
For beginners, softwoods like basswood are ideal. They’re easy to work with and budget-friendly. As you gain confidence, you can experiment with harder materials like oak or maple.
Essential tools include carving knives, chisels, and gouges. Each serves a unique purpose, from shaping to adding intricate details. Investing in high-quality equipment ensures precision and safety.
Non-Toxic Finishes and Sustainable Materials
Safety is paramount when creating items for children. Opt for non-toxic finishes like milk paint or tung oil. These products are eco-friendly and protect your project without harmful chemicals.
Sustainable materials not only benefit the environment but also add to the charm of your creation. Look for locally sourced supplies to reduce your carbon footprint.
With the right tools and finishes, your handmade gift will be both beautiful and safe. Start your journey today and enjoy the process of crafting something truly special.
Step-by-Step Wood Carving Techniques for Toys
Creating something by hand starts with a clear plan and the right approach. Whether you’re a beginner or refining your skill, following a structured process ensures success. Let’s dive into the essentials of bringing your project to life.
Planning and Sketching Your Design
Before you begin, take time to sketch your idea. A well-thought-out plan helps you visualize the final shape and avoid mistakes. Use simple tools like pencils and paper to draft your design. This step is crucial for ensuring accuracy and creativity.
Once your sketch is ready, transfer it to your material. Use tracing paper or carbon sheets for precision. This method helps you maintain the detail of your design as you work.
Simple Carving Approaches for Beginners
Start with soft materials like basswood for easier handling. Use a sharp gouge to make gradual cuts. This approach prevents splintering and ensures clean lines. Always carve with the grain for smoother results.
For adding patterns, try chip carving. This method involves removing small pieces to create intricate designs. It’s perfect for beginners and adds a unique touch to your craft.
Remember, patience is key. Take your time to develop your technique and enjoy the process. With practice, you’ll gain confidence and improve your results.
Creative Design Ideas and Patterns for Carved Toys
Unleash your creativity with unique design ideas that transform simple materials into playful treasures. Whether you’re crafting for a child or creating a holiday gift, the right pattern can elevate your project into a work of art.

Incorporating Nature-Inspired and Whimsical Motifs
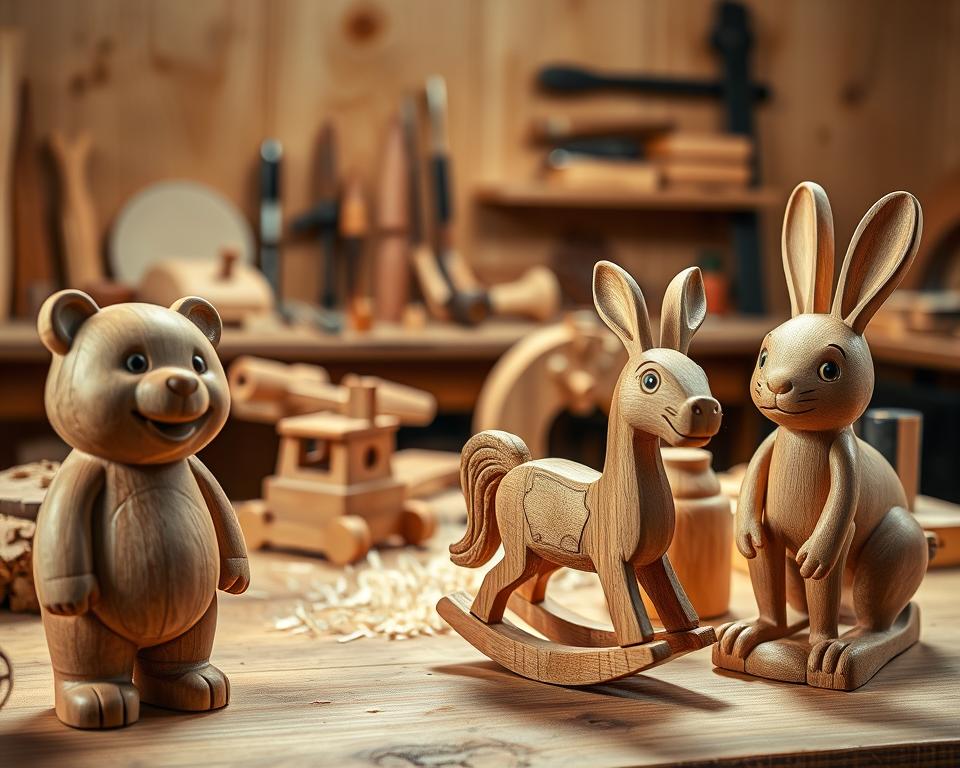
Nature offers endless inspiration for your designs. Think of playful animal shapes like rabbits, birds, or elephants. These motifs are not only charming but also perfect for beginners. Add a whimsical touch by experimenting with exaggerated features or vibrant colors.
For a festive feel, consider holiday-themed patterns. Santa figures, snowflakes, or even pumpkins can bring seasonal joy to your creations. These designs are a great way to personalize your project and make it truly one-of-a-kind.
Utilizing Geometric Chip Carving and Other Patterns
Geometric chip carving is a timeless technique that adds elegance to any design. Start with simple shapes like triangles or diamonds, then gradually incorporate more complex patterns. This method is ideal for adding texture and depth to your work.
Don’t be afraid to mix traditional methods with modern styles. Experiment with abstract designs or combine different techniques to create something unique. Remember, mistakes can lead to unexpected and beautiful results.
With a little imagination, even a simple shape can become a memorable piece. Let your creativity guide you and enjoy the process of bringing your ideas to life.
Advanced Techniques and Artistry in Wood Carving
Taking your skills to the next level opens up a world of creativity and precision. Advanced methods allow you to add movement, refine details, and create pieces that truly stand out. Whether you’re crafting a playful figure or a detailed animal, these techniques can elevate your work into a work of art.
Adding Articulated Joints and Movement
One way to bring your project to life is by incorporating articulated joints. This technique allows parts of the piece to move, adding a dynamic element. For example, a bear with movable arms or a bird with flapping wings can captivate both the person making it and the one receiving it.
Start by carefully planning the joints. Use small dowels or pins to connect the pieces, ensuring smooth movement. This method requires patience but results in a craft that’s both functional and charming.
Fine-Tuning Details and Customizations
Refining intricate details is what gives each shape its unique personality. Use fine tools to add textures, patterns, or facial expressions. Techniques like chip carving can enhance the realism of your design.
Experiment with custom finishes, such as natural oil, to protect and highlight the details. Subtle adjustments in pattern and finish can transform a simple project into a cherished heirloom.
Remember, balancing creativity with technical skill is key. Don’t be afraid to take risks—they often lead to the most beautiful results.
Practical Tips for a Successful Wood Carving Project
Crafting something by hand is a rewarding journey that combines creativity with practicality. To ensure your project turns out beautifully, focus on safety, precision, and eco-friendly practices. Here’s how to make every step count.
Maintaining Safety and Precision
Safety should always come first. Always carve away from your body and keep your hands behind the blade. Use sharp tools to reduce the risk of slips and ensure clean cuts. Dull tools can make the process harder and more dangerous.
Keep your workspace neat and organized. A clutter-free area minimizes accidents and helps you focus on the details. Regularly clean and oil your tools to maintain their sharpness and prevent rust.
If you’re new to this craft, start with soft materials like basswood. It’s easier to handle and less likely to splinter. As you gain confidence, you can experiment with harder woods for more intricate designs.
Achieving a Professional Finish with Eco-Friendly Products
Choosing the right finish is crucial for both safety and aesthetics. Opt for non-toxic options like real milk paint or tung oil. These products are safe for children and environmentally friendly.
Here’s a quick checklist to ensure a professional result:
- Sand your piece thoroughly before applying any finish.
- Use a soft cloth to apply the finish in thin, even layers.
- Allow each layer to dry completely before adding the next.
Eco-friendly finishes not only protect your work but also enhance its natural beauty. They’re a great way to make your project both safe and sustainable.
Remember, preparation is key. Take your time, follow these tips, and enjoy the process of creating something truly special.
Conclusion
Crafting something unique by hand is a journey filled with creativity and meaning. Throughout this guide, we’ve explored essential tools, step-by-step methods, and creative ideas to help you bring your designs to life. Each project is an opportunity to create a personalized gift that carries a special touch.
From planning your idea to adding intricate details, the process is as rewarding as the final item. Whether you’re making a holiday gift or a keepsake for a loved one, the care you put into your work makes it truly one-of-a-kind. Remember, using eco-friendly materials and non-toxic finishes ensures your creation is safe and sustainable.
As you continue your crafting journey, don’t be afraid to experiment with new techniques. Revisit the lists and links provided for ongoing inspiration. Share your creations with family and friends, and enjoy the joy they bring. Happy crafting!