Have you ever wondered how a simple train set can spark creativity and learning for the whole family? Crafting your own train from wood is not just a fun activity but also a sustainable way to create something meaningful. Whether you’re a seasoned crafter or a beginner, this guide will walk you through the process step by step.
Using reclaimed materials, you can design a unique toy that’s both eco-friendly and durable. From planning to assembly, every step offers a chance to learn and bond with loved ones. This project is perfect for families looking to combine creativity with hands-on education.
Ready to dive in? Let’s explore how to make your own train set that’s as unique as your imagination. It’s time to roll up your sleeves and create something special!
Key Takeaways
- Creating a train set is a fun and educational activity for all ages.
- Using reclaimed wood makes the project sustainable and eco-friendly.
- The process encourages creativity and family bonding.
- Step-by-step instructions make it easy for beginners and experts alike.
- This project combines learning with hands-on crafting.
Introduction: Getting Started with a DIY Wooden Train Set
There’s something special about creating a toy that combines nostalgia with modern creativity. A train set made from wood offers a timeless play experience that sparks imagination and learning. Whether you’re crafting for fun or as a family activity, this project is a rewarding way to bond and create something unique.
Why Choose Wooden Trains?
Wooden trains bring a classic charm that modern toys often lack. They’re durable, eco-friendly, and encourage hands-on play. Using reclaimed materials adds a sustainable touch, making this project both meaningful and practical. Plus, the simplicity of wood allows for endless customization, so your set can reflect your creativity.
Benefits for Families and Crafters
For families, this project is a chance to work together and create lasting memories. Each step, from planning to assembly, teaches valuable skills like problem-solving and teamwork. For crafters, it’s an opportunity to refine techniques like drilling precise holes or using dowels for sturdy joints.
By organizing your materials and tools upfront, you’ll make the process smooth and enjoyable. Simple techniques, like gluing pieces in place, ensure even beginners can succeed. The result? A one-of-a-kind train set that’s as fun to make as it is to play with.
Gathering the Tools and Materials for Your Project
Starting a DIY project begins with having the right tools and materials. A well-prepared workspace ensures smooth progress and professional results. Let’s break down what you’ll need to bring your vision to life.
Essential Tool Overview
Every crafter needs a reliable set of tools. A tablesaw is perfect for cutting wood to the right length. For precise angles, a miter saw is a must. Clamps hold pieces in place while glue dries, and a drill with the right bit creates clean holes for dowels or screws.
Always check your tools before starting. Sharp blades and properly functioning equipment prevent mishaps. Safety goggles and gloves are non-negotiable when handling sharp edges or power tools.

Selecting the Right Wood and Dowels
Choosing quality material is crucial. Reclaimed wood is eco-friendly and adds character to your project. Look for sturdy boards free of cracks or warping. For dowels, ensure they match the size of your drill holes for a snug fit.
Measure twice, cut once. Use a table saw with stop blocks for consistent lengths. Organize your materials beforehand to save time and avoid frustration. With everything in place, you’re ready to craft a unique train set that’s both durable and beautiful.
Step-by-Step Guide to Crafting the Train Locomotive
The heart of any train set is the locomotive, and building it yourself adds a personal touch. This guide will walk you through the process, from shaping the boiler to assembling the exhaust pipe. With a few tools and some patience, you’ll create a centerpiece that’s both functional and beautiful.
Creating the Boiler and Exhaust Pipe
Start by marking the wood for the boiler. Use a drill with a holesaw to create precise holes for the wheels. Measure carefully to ensure the size matches your design. Sand the edges for a smooth finish.
Next, shape the exhaust pipe. Cut a small piece of wood and use a belt sander to refine the shape. Glue it to the boiler, ensuring it aligns perfectly. This step adds character to your locomotive.
Shaping Key Components with Safety
Safety is crucial when working with tools. Always wear goggles and gloves. Use clamps to hold material in place while cutting or sanding. This prevents accidents and ensures precision.
For the wheels, drill a hole in the center and insert a dowel. Sand the edges to remove any roughness. This ensures smooth movement during assembly.
Take your time with each step. Double-check measurements and test-fit components before gluing. This attention to detail ensures a polished final product.
Detailed Assembly Process: Gluing and Finishing Your Train Set
Assembling your train set is where creativity meets precision, ensuring every piece fits perfectly. This step transforms individual components into a cohesive, functional toy. With the right techniques, you’ll create a durable and polished final product.

Mastering Glue-Up and Dowel Techniques
Start by applying wood glue to one end of the axles. This ensures a secure bond when attaching the wheels. Use clamps to hold pieces in place while the glue dries. For added strength, insert dowels into pre-drilled holes. This technique simplifies clamping and increases structural integrity.
When working with small parts, patience is key. Apply glue sparingly to avoid excess, which can weaken joints. Wipe away any spills immediately for a clean finish. Allow at least six hours for the glue to set, turning the wheels every 15 minutes to prevent sticking.
Aligning Wheels, Axles, and Small Parts
Proper alignment ensures smooth rolling and prevents binding. Begin by inserting axles into the pre-drilled holes. Ensure each wheel spins freely without wobbling. Use a level to check the base for evenness.
For small parts like the smokestack or headlamp, pre-finish them before assembly. This makes it easier to apply paint or mineral oil in tight spaces. Use painter tape or rubber bands to hold parts in place while the glue sets.
Take your time with each step. Double-check measurements and test-fit components before finalizing. This attention to detail ensures a polished and functional train set.
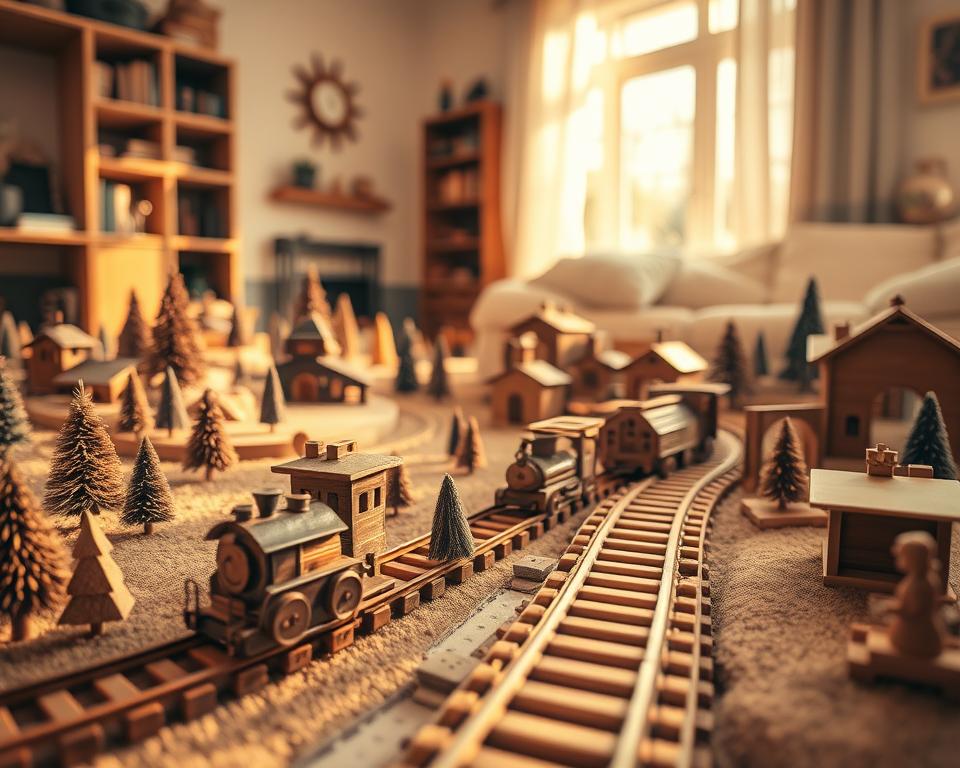
Building Wooden Trains at Home: Track Layout and Scenic Elements
Transform your space into a miniature world with a custom track layout and scenic elements. This part of the project lets you combine functionality with creativity, making your train set truly unique. Whether you’re aiming for a simple loop or an elaborate design, the process is both fun and rewarding.
Designing a Functional Track Layout
Start by planning your track design. Sketch out your ideas on paper, considering the width and side space available. Use an MDF board as the base for your layout. Cut it to the desired size and round over the edges for a neat finish.
Next, attach the track pieces using wood screws and glue. This ensures they stay in place while allowing for adjustments if needed. Test the layout on the floor before finalizing it to ensure smooth operation.
- Measure the space and sketch your design.
- Cut the MDF board and prepare the edges.
- Secure the track pieces with screws and glue.
- Test the layout for functionality.
Adding Landscaping and Scenery for Realism
Bring your track to life with scenic elements. Use scrap MDF to create mountains, trees, and other features. Layer the pieces for a 3D effect, and paint them to match your vision. This adds a playful yet realistic touch to your set.
For trees, cut small pieces of wood and drill a hole in the base. Insert a dowel to secure them to the board. Paint and decorate to match your theme. The possibilities are endless, so let your creativity shine.
- Create mountains and trees from scrap MDF.
- Layer pieces for a 3D effect.
- Paint and decorate to match your theme.
- Secure trees with dowels for stability.
Remember, this is your project. Feel free to experiment with colors, textures, and designs. The goal is to create a train environment that’s as unique as you are.
Conclusion
Crafting a unique toy from scratch is a journey filled with creativity and learning. From planning to the final glue and screw, each step brings its own rewards. This project not only teaches valuable skills but also creates a lasting treasure for generations.
Remember to follow safety tips, like wearing goggles when using a drill or handling small parts. Experiment with designs and finishes to make your train truly one-of-a-kind. The hole for the dowel or the curve of the track can add a personal touch.
We hope this guide has made the process accessible and enjoyable. Share your stories and feedback with us—your experiences inspire others to start their own creative journey. Let’s keep crafting, learning, and having fun together!
FAQ
What tools do I need to start a DIY wooden train project?
Essential tools include a drill, wood glue, screws, and a saw. You’ll also need dowels and wood pieces for assembly. Having a bit set and clamps can make the process smoother.
How do I choose the right wood for my train set?
Opt for durable materials like pine or birch. These are easy to work with and hold up well over time. Ensure the length, width, and thickness match your design needs.
What’s the best way to shape the train’s components?
Use a drill to create holes for wheels and axles. Sand the edges for safety and smoothness. A table saw or hand tool can help shape the boiler and exhaust pipe.
How do I ensure the wheels align properly?
Measure the dowel lengths carefully and drill holes at the same depth on both sides. Use wood glue to secure the axles and check alignment before the glue dries.
Can I customize the track layout for my train set?
Absolutely! Design a functional track layout using wooden boards. Add scenic elements like trees or bridges to enhance the realism of your project.
How long does it take to complete a wooden train set?
The time depends on the size and complexity of your design. A basic set can take a few hours, while more detailed projects may require a day or two.
Is this project suitable for kids?
Yes, with adult supervision. Kids can help with simple tasks like gluing or painting. It’s a great way to teach them about crafting and problem-solving.
What’s the best way to finish the train set?
Sand all surfaces for a smooth finish. Apply a non-toxic sealant or paint to protect the wood and add color. Let it dry completely before use.