Have you ever wondered how to create a fun and safe DIY project for your child? With the rise of non-toxic materials, it’s easier than ever to turn plain wood into vibrant, child-friendly toys. This guide will show you how to use real milk paint, a non-toxic and eco-friendly option, to bring your creative ideas to life.
Wooden toys have a timeless appeal, offering durability and a natural alternative to plastic. By using milk paint, you can ensure that your project is safe for your baby or child. This paint is free from harmful chemicals and VOCs, making it perfect for family-friendly activities.
In this article, you’ll find a step-by-step guide to prepping, painting, and sealing your wooden toy. From choosing the right materials to applying the final coat, we’ve got you covered. Let’s dive into a project that’s both creative and safe for your little ones!
Key Takeaways
- Wooden toys are durable and eco-friendly.
- Real milk paint is non-toxic and safe for children.
- This guide provides a complete step-by-step process.
- Using child-safe paint ensures a worry-free project.
- DIY projects foster creativity and bonding with your child.
Understanding the Basics of Wooden Block Painting
Looking for a creative and safe activity for your child? Wooden block painting is a fantastic choice. This project combines fun, learning, and safety, making it perfect for families. Let’s explore why this activity is so special and how you can get started.
Why Choose Wooden Blocks for Creative Projects
Wooden blocks are a timeless child toy that encourages creativity and learning. Their natural texture and durability make them ideal for crafting. Unlike plastic, wood is eco-friendly and provides a smooth surface for paint to adhere to.
When selecting blocks, opt for unfinished ones. These absorb safe paint better, ensuring a vibrant and long-lasting finish. This simple step can make a big difference in the final result.

Benefits of Using Child-Safe Paints
Safety is a top priority when working on projects for children. Non-toxic paints, like Real Milk Paint, are free from harmful chemicals. This ensures that even if your child puts the blocks in their mouth, there’s no risk.
These paints are easy to use and mix with water, making them perfect for beginners. With a soft hand and the right ingredient, you can achieve professional-looking results. Plus, they come in a variety of colors to spark your child’s imagination.
By choosing the right materials, you create a project that’s not only fun but also safe for your little one. This way, you can focus on bonding and creativity without any worries.
Preparing Your Workspace and Materials
Ready to transform plain surfaces into vibrant, child-friendly creations? A well-prepared workspace is the foundation of any successful DIY project. Let’s dive into the essentials for setting up a safe and creative environment for your kid or toddler.
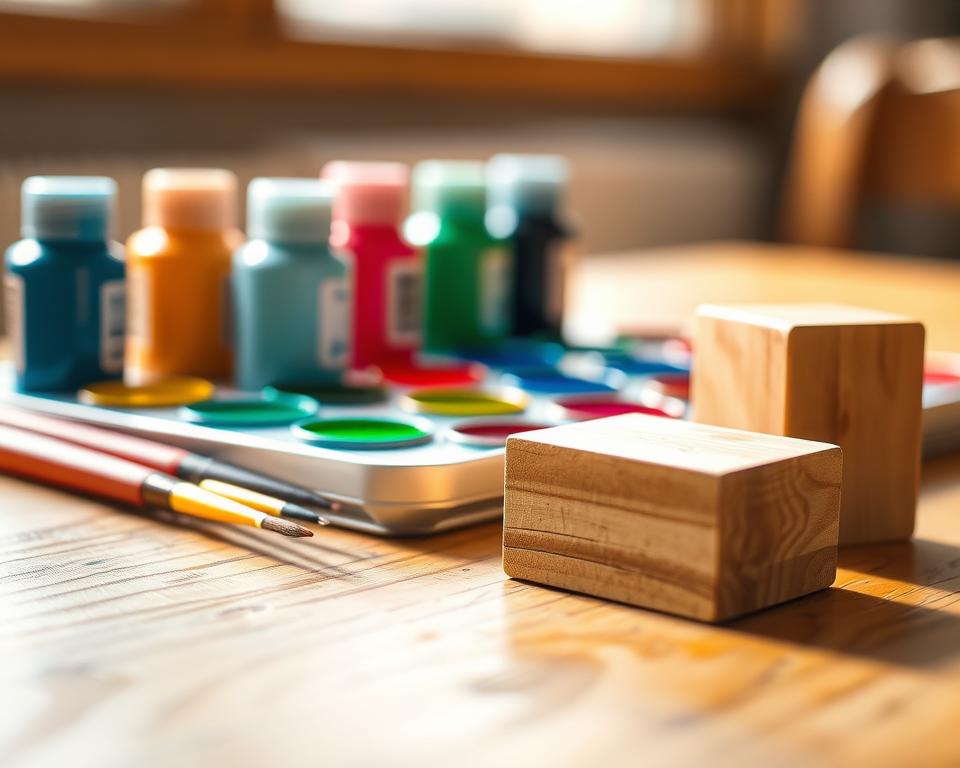
Essential Tools and Materials Overview
Before you start, gather all the necessary tools and materials. Here’s what you’ll need:
- Unfinished wood blocks or toys
- Non-toxic paint, like Real Milk Paint
- Paintbrushes in various sizes
- Sandpaper (180-220 grit)
- Clean cloth or sponge
- Blue tape for clean edges
- Optional child-proof sealant
These items ensure a smooth process and professional-looking results. Always check the formulation of paints and sealants to avoid harmful chemicals like volatile organic compounds (VOCs).
Setting Up a Safe and Creative Environment
Creating a dedicated workspace is key. Choose a well-ventilated area to minimize exposure to any fumes, even from non-toxic materials. Cover the surface with a drop cloth or newspaper to protect it from spills.
Start by sanding the wood in the direction of the grain. This step ensures the surface is smooth and ready for paint. After sanding, wipe away dust with a clean cloth. Proper preparation ensures the paint adheres well and lasts longer.
Organize your tools within reach to keep the process efficient. Keep your kid or toddler engaged by involving them in simple tasks, like choosing colors. This makes the project fun and interactive while ensuring their safety.
By following these steps, you’ll create a workspace that’s both inspiring and secure. A little preparation goes a long way in making your paint wooden toy project a success!
Step-by-Step Guide to Painting Wooden Blocks Safely
Discover how to craft safe and colorful toys for your child with this simple guide. By following these steps, you’ll create durable and vibrant creations that are perfect for playtime. Let’s dive into the process of selecting materials, prepping surfaces, and applying non-toxic paint.
Choosing the Right Type of Wood and Prepping the Surface
Start by selecting the best type of wood for your project. Hardwoods like maple or birch are ideal because they’re durable and provide a smooth finish. These materials are perfect for creating long-lasting toys.
Once you’ve chosen your wood, prepare the surface. Sand it along the grain using fine-grit sandpaper (120-150 grit). This step ensures the surface is smooth and ready for paint. Wipe away any dust with a clean cloth or sponge.
If there are imperfections, use child-safe wood filler to repair them. This ensures a flawless finish. Proper preparation is key to achieving professional-looking results.

Mixing and Applying Non-Toxic Milk Paint
Next, mix your non-toxic Real Milk Paint. Measure the powder and mix it with water at a 1:1 ratio. For a smoother application, consider adding an anti-foaming agent. This formulation ensures the paint is safe and easy to use.
Apply the paint in thin, even coats using a brush. Allow each coat to dry for about 30 minutes before adding the next. Multiple thin layers provide better coverage and a more durable finish.
Remember, this paint is free from harmful volatile organic compounds (VOCs), making it safe for your child. Its non-toxic ingredients ensure peace of mind during and after the project.
By following these steps, you’ll achieve a beautiful, long-lasting finish that’s perfect for everyday play. Take your time and enjoy the process of creating something special for your little one.
Choosing the Best Finishing Touches and Sealants
The final step in your project is just as important as the first—let’s talk sealants. Adding a protective layer ensures your child’s toys are not only beautiful but also safe and durable. The right sealant enhances the color, protects the surface, and ensures the toy is safe for everyday use.
Selecting Child-Proof Sealants: Pure Tung Oil, Wood Wax & Hemp Oil
When it comes to sealants, safety is key. Here are three top options:
- Pure Tung Oil: This natural oil is FDA-approved for food contact, making it ideal for toys. It enhances the wood’s grain and provides a waterproof barrier. Its plant-based formulation ensures it’s free from harmful VOCs.
- Wood Wax: Made from beeswax and carnauba wax, this sealant offers a soft, matte finish. It’s easy to apply and creates a washable surface, perfect for kid toys.
- Hemp Oil: Known for its hypoallergenic properties, this oil penetrates deeply into the wood, providing a satin-like finish. It’s safe for children and enhances the natural beauty of the material.
Techniques for a Durable, Food-Safe Coating
Applying sealant correctly ensures long-lasting results. Here’s how to do it:
- For Pure Tung Oil, apply thin coats with a soft cloth. Allow each coat to dry for 24 hours before adding the next. Three coats are usually sufficient.
- With Wood Wax, use a brush or cloth to apply a thin layer. Buff it gently after drying for a smooth, protective barrier.
- For Hemp Oil, apply with a cloth and let it soak into the wood. Wipe off any excess after 30 minutes. Repeat for a richer finish.
Always test the sealant on a small area first. This ensures compatibility and helps you achieve the desired look. By following these steps, you’ll create a painting project that’s both professional and child-safe.
These techniques transform simple toys into durable, vibrant creations. Whether it’s for a nursery or everyday play, the right sealant ensures your child’s toys are safe and built to last.
Conclusion
Creating a safe and creative project for your child is easier than you think. By using non-toxic materials like Real Milk Paint and child-proof sealants, you can ensure a worry-free experience. From prepping the surface to applying the final coat, each step is designed to produce beautiful and durable results.
Choosing the right ingredients, such as water-based formulations and natural oils, guarantees a finish that’s safe for your kid or baby. Proper preparation and careful application lead to professional-looking toys that are perfect for playtime or a nursery.
Remember, mistakes are part of the process. This guide provides all the tips you need to troubleshoot and keep your project on track. Experiment with colors and designs to make each creation unique.
With a little effort and the right materials, you can craft toys that are both beautiful and safe. Enjoy the process and celebrate the joy it brings to your child!