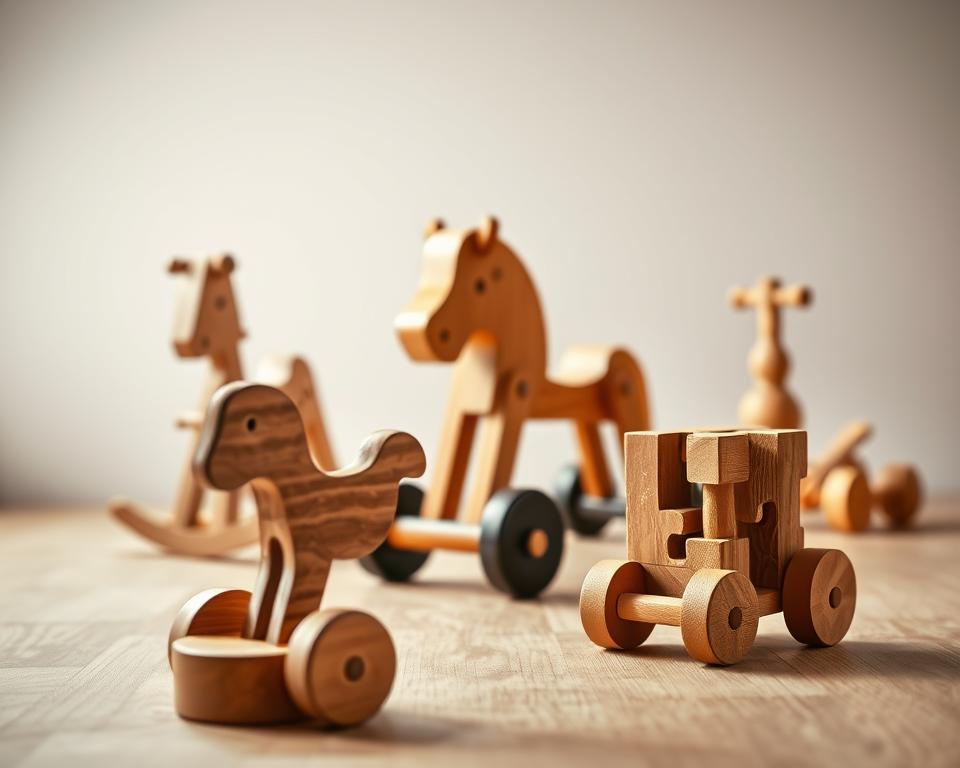
Have you ever wondered why handmade gifts hold such a special place in our hearts? In a world filled with mass-produced items, there’s something truly magical about creating something unique with your own hands. This blog dives into the joy of making wooden toy projects that are not only fun but also meaningful and eco-friendly.
DIY enthusiasts are increasingly turning to natural materials like wood to craft gifts that stand out. Using non-toxic stains and sealants, you can create vibrant, safe, and durable toys that kids will cherish for years. These projects are more than just toys—they’re heirlooms that carry a personal touch.
Whether you’re a beginner or an experienced crafter, this guide will walk you through planning, tools, safety, and creative techniques. Let’s explore how you can turn simple wood into something extraordinary.
Key Takeaways
- Handmade wooden toys make meaningful, eco-friendly gifts.
- Natural materials like wood are safe and durable for kids.
- Adding a personal touch transforms a toy into a cherished keepsake.
- This guide covers planning, tools, safety, and creative techniques.
- Perfect for both beginners and experienced crafters.
Getting Started: Tools, Materials, and Safety
Starting a new DIY project can feel overwhelming, but with the right setup, it’s easier than you think. Whether you’re crafting a simple wooden toy or tackling a more complex design, preparation is key. Let’s walk through the essentials to ensure your workspace is safe, organized, and ready for creativity.
Setting Up Your Workspace
A well-organized workspace is the foundation of any successful project. Choose a well-lit area with enough room to move around comfortably. Keep your tools within reach but stored safely to avoid clutter. A clean, distraction-free environment helps you focus and enjoy the process.
Essential tools include chisels, sandpaper, and natural stains. Opt for eco-friendly materials to ensure your creations are safe for play. Brands like Tiny Land prioritize non-toxic, child-safe products, making them a great choice for your projects.
Essential Safety Precautions
Safety should always come first. Wear goggles, ear protection, and a dust mask to protect yourself while working. Always read the instructions for power tools and work methodically to avoid accidents.
When choosing materials, prioritize non-toxic options. This ensures the finished toy is safe for children. Sanding is also crucial—start with 150-grit sandpaper and progress to at least 220 grit for a smooth finish.
By following these steps, you’ll create a workspace that’s both functional and inspiring. With the right tools and safety measures, your DIY journey will be enjoyable and rewarding.
Creating a Blueprint: Design and Planning Your Project
Designing your own project starts with a clear vision and a solid plan. Taking the time to sketch out your ideas ensures that every detail is accounted for. This step is especially important when creating something as special as a wooden toy.
Sketching Out Your Ideas
Sketching helps you visualize the proportions and add personal touches like a child’s name or unique motifs. Start with rough drafts to explore different shapes and sizes. This process makes it easier to refine your design before cutting any wood.
Using unfinished wooden pieces as a starting point can save time and inspire creativity. Many DIY enthusiasts find that pre-cut pieces simplify the process while leaving room for customization. This approach also reduces material waste, making your project more eco-friendly.
Careful planning ensures a smoother workflow and prevents mistakes. For example, woodworking blogs often show how simple sketches evolve into beautiful, customized creations. A clear blueprint makes the process less daunting and more enjoyable.
Tips for Personalized Wooden Toy Projects
Adding a personal touch to your creations can make them truly unforgettable. Whether it’s a name, a special date, or a unique pattern, these details turn a simple toy into a cherished keepsake. Let’s explore creative ways to make your project stand out while keeping it safe and fun for kids.
Choosing Unique Personalization Methods
Personalization starts with creativity. Engraving a child’s name or a meaningful date adds a special touch. Wood-burning tools are perfect for this, creating a lasting impression. For a colorful twist, try using natural paints or patterned stains. Stencils can help you achieve intricate designs without much effort.
Consider adding unique visual elements like hand-painted motifs or carved details. These small touches make each piece one-of-a-kind. For example, wooden balls or peg people can be transformed with vibrant colors and patterns. The key is to experiment while keeping the design simple and appealing.
Incorporating Child-Friendly Elements
Safety is paramount when creating items for kids. Always use non-toxic, plant-based products. Natural stains and water-based paints are excellent choices. These materials ensure the toy is safe for play and durable enough to withstand daily use.
Think about the child’s age and interests when designing. Bright colors and smooth finishes are ideal for younger kids. For older children, consider adding interactive elements like movable parts or stacking features. Balancing aesthetic style with practicality ensures the project is both beautiful and functional.
By focusing on these tips, you’ll create something that’s not only unique but also safe and enjoyable for the child. Let your creativity shine while keeping the process fun and rewarding.
Step-by-Step Customization Techniques
Customizing your creations step-by-step ensures every detail shines. Whether you’re adding color or engraving a name, these techniques will help you create something truly special. Let’s dive into the process of applying finishes and embellishments to make your wooden toy stand out.

Applying Paints, Stains, and Finishes
Start by choosing non-toxic, water-based paints or natural stains. These are safe for children and eco-friendly. Apply the first coat evenly using a brush or sponge. Let it dry completely before adding a second coat for a vibrant finish.
For durability, seal the wood with a plant-based sealant. Apply at least two coats, sanding lightly between each layer. This ensures a smooth, long-lasting surface that’s safe for play.
If you notice uneven color, lightly sand the area and reapply the paint. Patience is key—rushing can lead to mistakes. Many DIY enthusiasts recommend using stencils for intricate designs, as they simplify the process.
Engraving and Adding Embellishments
Engraving adds a personal touch to your toy. Use a wood-burning tool or chisel to carve names, dates, or patterns. Practice on a scrap piece first to get comfortable with the tool.
For embellishments, consider adding small, safe details like wooden beads or hand-painted motifs. Ensure all parts are securely attached and free of sharp edges. This makes the toy both unique and safe for kids.
If you’re unsure about hand-lettering, templates can help. They’re a great way to achieve professional-looking results without stress. Remember, the goal is to create something that’s both beautiful and functional.
By following these steps, you’ll transform a simple piece of wood into a cherished keepsake. Take your time, enjoy the process, and let your creativity shine.
Innovative DIY Ideas to Spark Creativity
Unlock your creativity with innovative ideas that breathe new life into classic designs. Transforming traditional toys into modern heirlooms is easier than you think. With a few simple techniques, you can create pieces that are both timeless and unique.
Start by repurposing basic wooden shapes like cotton reels or building blocks. Add a splash of color with non-toxic stains or paints. These small changes can make a big visual impact. For example, a simple ball run can become a vibrant, interactive toy that engages any child.
Blending Tradition with Modern Style
Combine traditional charm with modern design touches to create something truly special. Engrave names or patterns using a wood-burning tool. This adds a personal touch while keeping the piece safe and durable. Stencils can help achieve intricate designs without much effort.
Consider transforming a classic wooden rack into a functional art piece. Add colorful hooks or hand-painted motifs to make it stand out. These updates not only enhance the look but also ensure the item remains useful for years to come.
Encourage experimentation with creative ideas that reflect your personal style. Whether it’s a simple wooden toy or a functional piece, the possibilities are endless. Let your imagination guide you as you craft something that’s both beautiful and meaningful.
Final Touches: Sealing, Polishing, and Safety Checks
The final steps of your DIY journey ensure your creation is safe, durable, and ready for play. These finishing touches not only protect the wood but also enhance the beauty of your project. Let’s dive into the best practices for sealing, polishing, and ensuring safety.

Applying Non-Toxic, Child-Safe Finishes
Choosing the right finish is crucial for safety and durability. Opt for plant-based sealants that are non-toxic and safe for children. Apply multiple thin coats, allowing each layer to dry completely. This ensures a smooth, protective surface that won’t chip or peel.
Testing the finish is just as important. Perform a water drop test to check if the color transfers during play. If the water beads up and doesn’t leave a mark, your finish is secure. This step guarantees the toy is safe for everyday use.
Proper finishing protects both the wood and the creative customizations you’ve added. It transforms your work into an heirloom-quality piece that’s ready for years of enjoyment. Always prioritize safety and quality in these final stages.
Conclusion
Creating handmade items brings a unique sense of joy and accomplishment. By focusing on careful planning and safety, you can craft items that are both beautiful and functional. Using natural, non-toxic materials ensures they are safe for play and built to last.
Every step, from design to finishing, adds value to your creation. Adding a name or unique design makes it truly special. These details turn a simple piece into a cherished keepsake that can be enjoyed for years.
We encourage you to try these techniques and share your DIY stories on your blog or social media. Your creativity can inspire others to start their own crafting journey. Remember, every well-made item transforms into a treasured heirloom.
Let your imagination guide you. With the right tools and a bit of patience, you can create something that’s both meaningful and fun. Enjoy the process and take pride in your handmade creations.